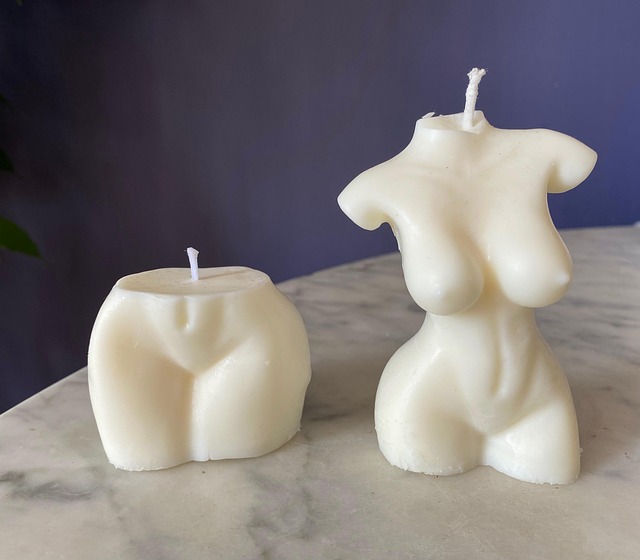
Crafting Your Own Glow: A Beginner’s Guide to DIY Candle Making
There’s something deeply satisfying about creating something with your hands — especially something as warm and inviting as a candle. In the realm of DIY projects, candle making holds a special place. It’s not just about producing a source of light; it’s about crafting a personal glow that fills your space with ambiance, comfort, and a touch of your own creativity.
Why Candle Making?
At its core, candle making is an art form that invites relaxation and mindfulness. When you embark on this journey, you’re not just melting wax and adding scents; you’re embracing a ritual that calms the mind and nourishes the soul. Every candle you make is a reflection of your personality — from the color palette you choose to the fragrance notes that soothe your senses.
Getting Started: What You’ll Need
Starting your candle making adventure doesn’t require a fancy setup. Gather a few basic supplies to ignite your creativity:
- Wax: Soy wax is popular among beginners due to its clean burn and ease of use.
- Wicks: Select the right size for your candle container to ensure an even burn.
- Containers: Think glass jars, tins, or even vintage teacups for a unique touch.
- Fragrance oils: Lavender, vanilla, or citrus — pick scents that resonate with you.
- Colorants (optional): Dye chips or liquid dyes add a personal pop to your candles.
- Tools: Double boiler or a makeshift one, thermometer, a stirring utensil, and glue dots for wicks.
The Process: Simple Steps to Your First Candle
- Prepare your workspace: Cover surfaces and gather supplies for a smooth experience.
- Melt the wax: Use a double boiler to gently bring the wax to the recommended temperature.
- Add fragrance and color: Stir gently once the wax reaches the right heat for mixing.
- Secure the wick: Use glue dots or melted wax to fix the wick at the center of your container.
- Pour the wax: Carefully pour, leaving some room at the top of the container.
- Let it set: Allow your candle to cool and solidify undisturbed — patience here pays off.
- Trim the wick: Cut it to about ¼ inch before lighting for a clean burn.
Creating Ambiance and Happiness
There’s an undeniable magic in lighting a candle you made yourself. The gentle flicker sparks tranquility, while the scents envelop you in memories or dreams. Whether it’s a quiet evening, a relaxing bath, or an intimate dinner, your homemade candles amplify those moments, making everyday experiences extraordinary.
Tips for Success
- Experiment with fragrances to discover your signature blend.
- Keep notes on wax types, temperatures, and scent measurements for future runs.
- Stay safe — never leave melting wax unattended and work in a well-ventilated area.
- Don’t be afraid to let go of perfection; each candle will have its own charm and character.
Engaging in candle making is more than a craft — it’s a soulful journey towards cultivating warmth and light with your own hands. So why not dive in and let your personal glow shine through your creations?
