Embrace the Power of DIY Maintenance
There’s a certain satisfaction that comes from rolling up your sleeves and getting your hands dirty to fix things around your home. DIY maintenance allows you to connect with your living space, making every small project a personal triumph. Plus, it’s often budget-friendly! Whether you’re a seasoned DIY enthusiast or just starting, this step-by-step guide will help you take control of your home maintenance tasks with confidence.
Step 1: Assess Your Needs
Before diving headfirst into any project, take the time to assess what needs to be done. Create a list of maintenance tasks that require attention, such as painting, caulking, or servicing appliances. Not only will this give you a clear roadmap for your DIY maintenance journey, but it will also prevent any overwhelming feelings that often come with a cluttered to-do list.
Step 2: Gather Your Tools
Having the right tools at your disposal makes a world of difference. Start with the basics: a hammer, screwdrivers, pliers, a measuring tape, and safety gear. Depending on your projects, you might need more specific tools, like a paintbrush or a power drill. Keep your toolbox organized; a well-prepared DIY space makes starting any task less daunting and more enjoyable.
Step 3: Learn the Basics
If you’re new to DIY maintenance, take the time to learn the essentials. There are countless online resources, from YouTube videos to DIY blogs, that can guide you through various projects. Don’t hesitate to reach out to friends or family who have experience; sometimes a quick chat can save you hours of trial and error.
Step 4: Start Small
Begin with manageable projects. Fixing a leaky faucet or repainting a small room are excellent starting points. As you complete these tasks, you’ll build confidence and develop your skills. Celebrate each victory, as every small success contributes to your overall growth as a DIY enthusiast!
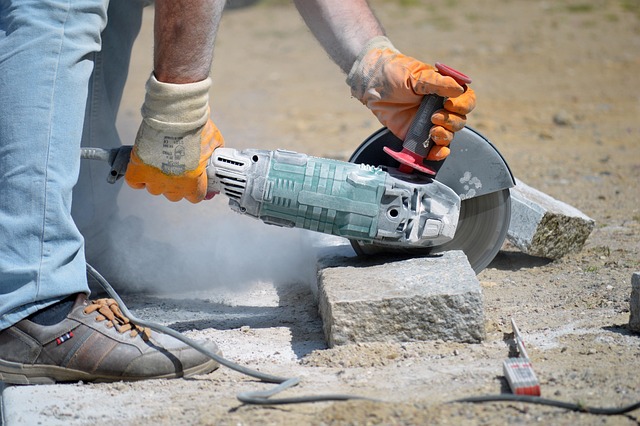
Step 5: Keep Safety in Mind
Your health and safety should always come first during any DIY maintenance project. Wear protective gear, such as goggles and gloves, and ensure your workspace is safe. Familiarize yourself with the tools you’re using to avoid accidents and mishaps.
Step 6: Document Your Progress
Consider creating a DIY maintenance journal where you document your projects, noting what you’ve learned and any challenges you faced. This can serve as a valuable resource for future projects and might inspire your creativity. Plus, you can look back and appreciate how much you’ve accomplished!
Step 7: Enjoy the Process
Lastly, remember that DIY maintenance isn’t just about fixing things; it’s an opportunity for personal expression. Whether it’s the colors you choose or the way you organize your space, each project reflects your personality and taste. Enjoy the process, and take pride in the fact that you’re not just maintaining your home, but also nurturing your skills and creativity.
With this step-by-step guide in hand, you’re well on your way to mastering DIY maintenance. Trust in your abilities, embrace the learning curve, and before you know it, you’ll be tackling larger projects with ease. Happy DIYing!