When the desire to declutter meets a passion for sustainable crafting, the humble idea of turning discarded cartons, old suitcases, and forgotten tin boxes into functional storage solutions can blossom into a delightful project. In this guide, we’ll explore how recycled storage boxes can be reimagined through simple DIY techniques that preserve the environment while giving your living space a personalized touch. By focusing on creative handcraft methods, you’ll learn how to transform everyday waste into useful, aesthetically pleasing organizers that reflect your style and eco‑friendly values.
The Eco‑Friendly Edge of Recycled Storage Boxes
Choosing recycled storage boxes over new plastic or cardboard products reduces landfill pressure, saves energy, and cuts down on the carbon emissions associated with manufacturing fresh materials. Each box you repurpose eliminates the need for a new item to travel through the supply chain, cutting transportation emissions and the environmental impact of production. Moreover, the act of reusing materials fosters a sense of responsibility and encourages mindful consumption, turning a simple storage need into a meaningful sustainability statement.
Gathering the Right Materials
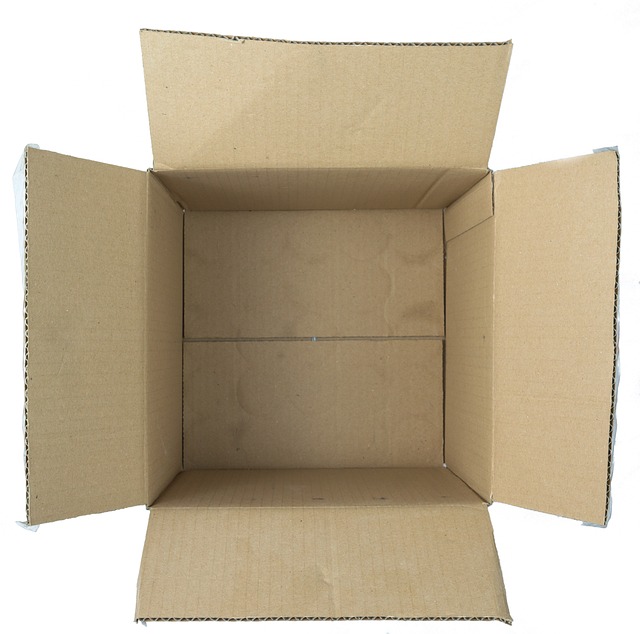
Before you start, collect a variety of discarded containers: sturdy cardboard boxes, plastic tubs, metal tin cans, even old shoe boxes or milk crates. The key is to choose items that are structurally sound and free from hazardous chemicals such as lead-based paint. If you plan to paint or varnish, use non‑toxic, water‑based coatings. For a more rustic look, you can leave natural fibers like twine or jute intact, which will give the box a textured, handmade feel. A good mix of sizes allows you to create a whole system of nested containers, each tailored to different categories of belongings.
Essential Tools and Supplies
Most of the tools you’ll need are common household items. A sharp utility knife or scissors for cutting, a ruler or measuring tape to keep dimensions accurate, and a sturdy work surface such as a cutting board or large table are the basics. For assembly, craft glue or a hot glue gun will provide strong, quick bonding. If you wish to add decorative paper or fabric, a roll of decorative paper or patterned fabric is useful. Lastly, a small paintbrush or roller and your chosen paint or stain complete the toolkit. Having these items on hand ensures a smooth crafting experience.
Step 1: Cleaning and Preparing the Boxes
Start by rinsing any plastic or tin containers with warm soapy water to remove residue or oils that could interfere with adhesion. Cardboard boxes should be wiped clean with a damp cloth and allowed to dry fully before cutting or painting. Removing labels and adhesive strips is also essential; a mild adhesive remover or simple soaking can ease this task. Once clean, inspect each item for structural integrity—repair any weak spots with a small piece of tape or a dab of glue before proceeding.
Step 2: Cutting and Reconfiguring Shapes
Use the ruler to measure the dimensions of each box, then decide if you want to keep the original shape or create a new one. For example, cutting a flat cardboard box into a rectangular prism and adding a lid from another piece can yield a sturdy storage unit. If you’re repurposing a milk crate, you might cut off the sides to create a shallow tray that fits into a larger box. The creative freedom here is vast—don’t be afraid to experiment with sizes that complement the items you intend to store.
Step 3: Assembling the Box Structure
Apply a generous line of glue along the edges where two pieces will meet. Press firmly and hold for a few seconds to ensure a solid bond. If you’re using a hot glue gun, be mindful of the heat, especially with thin cardboard. For extra durability, reinforce joints with a strip of tape along the inside or outside of the seam. When creating a lid, allow a small overlap onto the box’s side to prevent items from sliding out and to provide a snug fit.
Step 4: Adding Decorative and Functional Finishes
- Paint the box with a water‑based, low‑VOC paint in a color that matches your décor. Light colors reflect light and keep the space feeling open.
- Stain the wood or metal surfaces for a natural, warm tone, then seal with a clear, eco‑friendly finish.
- Wrap the exterior with decorative paper, fabric, or even old maps for a personalized aesthetic.
- Attach a string, twine, or a small metal ring to the lid for a convenient pull‑string opening.
Creative Ways to Use Your Recycled Storage Boxes
Once your boxes are complete, think about their placement and purpose. Small, flat boxes can become desk organizers for pens, sticky notes, and business cards. Medium-sized containers work well for kitchen pantry items, craft supplies, or seasonal decorations. Larger boxes with sturdy lids are perfect for holiday ornaments, toys, or tools. By creating a matching set, you can maintain visual harmony across rooms while maximizing storage efficiency.
Organizing Tips for Different Spaces
- Home Office: Use a stack of small boxes to hold stationery, cables, and USB drives. A medium box can hold reference books, while a larger box can store presentation folders.
- Living Room: Place a flat box under the sofa to store remote controls and magazines. A decorative tin can hold a collection of throw blankets or coasters.
- Kitchen: Repurpose a large cardboard box as a pantry shelf for canned goods, or use a tin for spice jars. A small box can be used to store kitchen gadgets like peelers or tongs.
- Garage: A sturdy, weather‑proof tin can serve as a tool organizer. A stack of boxes can keep small parts like screws, bolts, and nuts sorted by size.
Maintenance and Longevity of Recycled Storage Boxes
To preserve the integrity of your handmade boxes, treat them with care. Avoid placing heavy objects on top of thin cardboard boxes to prevent warping. For plastic and metal containers, wipe down spills immediately to prevent staining or rust. If you notice seams loosening, reapply glue or add a thin layer of tape for reinforcement. Store boxes in a dry area to keep cardboard from absorbing moisture, which can cause mold or deterioration.
Recycling at the End of Their Life Cycle
Even with meticulous care, boxes may eventually reach the end of their useful life. At that point, assess whether the material can be broken down again. Cardboard can be shredded and repurposed into homemade packing material. Plastic containers can be melted and recast into new shapes, or donated to a local school or community center for craft projects. Metal tins can be cleaned and reused for storage or even turned into garden planters. The cycle of reuse continues as long as the materials are treated responsibly.
Conclusion: Turning Waste into Wonder
DIY recycled storage boxes offer a practical, creative, and environmentally conscious way to tackle clutter while giving your home a distinctive, personalized feel. By gathering discarded containers, applying simple tools, and adding thoughtful touches, you can produce functional organizers that reflect your style and commitment to sustainability. The process not only reduces waste but also instills a sense of accomplishment and encourages others to view everyday items through a lens of possibility. Let your imagination guide you—each box is a canvas awaiting your handcraft flair, turning what might otherwise be forgotten into something truly useful and beautiful.