The Ultimate Guide to DIY Handcrafted Outdoor Paints for Creative Projects
There’s something magical about stepping into the great outdoors, surrounded by nature’s beauty, and feeling inspired to create. If you’re a fellow nature enthusiast and creative spirit, you’ve likely thought about incorporating this inspiration into your artistic projects. What better way to do this than with your very own handcrafted outdoor paints? Making your own environmentally friendly pigments is not only rewarding but also connects you to your materials in a profound way.
Why Choose DIY Outdoor Paints?
DIY outdoor paints allow you to unleash your creativity without the limitations of commercial options. You can choose the colors, the texture, and the finish, making them tailor-made for your specific projects. Plus, knowing that you’ve utilized natural ingredients adds an extra layer of satisfaction. Using these handmade paints, whether on canvas, wood, or stone, elevates the beauty of your creations while keeping the planet in mind.
Gathering Your Materials
Creating your own outdoor paints requires a few essential ingredients. Here’s what you’ll need:
- Natural Pigments: You can source natural pigments from crushed flowers, fruits, vegetables, or even spices like turmeric for yellow or beet juice for red.
- Binders: Common binders used for outdoor paints include flour, cornstarch, or even milk casein to ensure your paint sticks well to surfaces.
- Water: This is essential for mixing your ingredients into a smooth consistency.
- Essential Oils (optional): Adding a few drops of essential oils like lavender or tea tree can impart natural preservative qualities while providing a pleasant scent.
Basic Recipe for DIY Outdoor Paints
Ready to get your hands dirty? Here’s a simple recipe that you can tweak according to your color preferences:
- Prepare Your Pigments: If you’re using natural materials, start by crushing them into a fine powder using a mortar and pestle or a food processor.
- Mix the Binder: In a separate bowl, combine your chosen binder with water until you achieve a smooth paste.
For example, mix 1 part cornstarch with 2 parts water and heat gently until it thickens. - Combine: Stir in your natural pigments until you reach the desired color intensity. Add essential oils if using.
- Adjust Consistency: If your paint is too thick, add a bit more water. If it’s too thin, add more binder.
Tips for Painting with Your DIY Outdoor Paints
Once you’ve crafted the perfect batch of outdoor paints, it’s time to put them to use. Here are some tips to ensure the best results:
- Surface Preparation: Whether you’re painting on wood, stone, or fabric, make sure the surface is clean and dry to help your paint adhere better.
- Layering: Allow each layer of paint to dry before applying another to create depth in your artwork.
- Experiment: Don’t hesitate to mix colors or apply various techniques – your creativity is your only limit!
Creative Project Ideas
Now that you’re armed with your custom outdoor paints, consider these fun projects that can help you express your artistic vision:
- Garden Rocks: Transform ordinary stones into cheerful markers or decorative pieces for your garden.
- Outdoor Furniture: Revitalize old chairs or tables with a fresh coat of your vibrant hues.
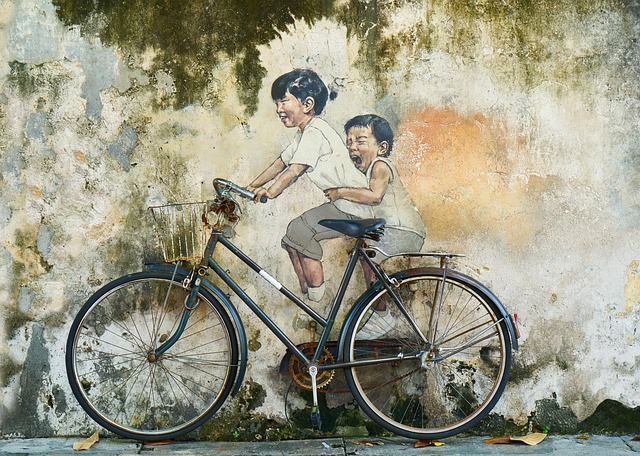
- Wall Murals: Use your paints to create a stunning outdoor mural on a fence or wall, injecting color and personality into your space.
- Birdhouses: Paint birdhouses to attract feathered friends while making a charming visual statement!
With a little creativity and effort, your handcrafted outdoor paints can breathe new life into countless projects. Embrace the beauty of nature, express your artistic flair, and most importantly, have fun while doing it!
