DIY Patchwork Painting: Handcrafted Creative Projects
Are you looking for a way to express your creativity while creating something unique for your space? DIY patchwork painting combines the charm of handcraft with artistic flair to transform simple materials into captivating pieces of art. This fulfilling project not only allows you to express your personality but also offers a fantastic way to recycle old materials and share your artistic journey with friends and family.
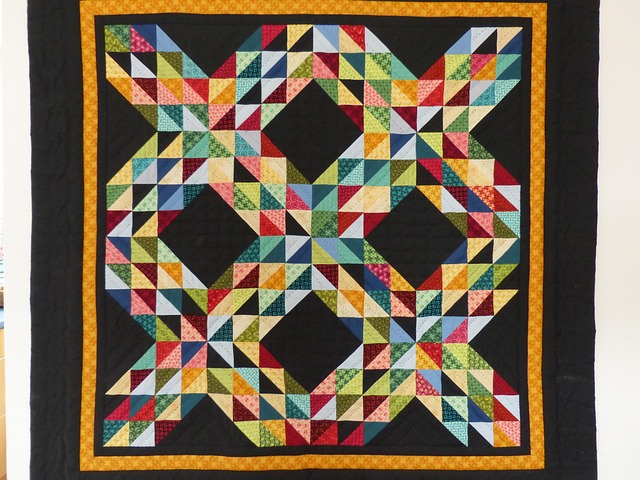
What is Patchwork Painting?
At its core, patchwork painting is a vibrant tapestry of colors, textures, and patterns. Imagine a traditional quilt, but instead of fabric, you’re using paint and mixed media to create your masterpiece. Each patchwork piece brings its own story to your artwork, making it not only visually appealing but also deeply personal. You can include pieces of old canvases, recycled paper, or even fabric remnants to enhance the depth of your creation.
Gathering Your Materials
To start your DIY patchwork painting, you’ll need the following materials:
- Canvas or wooden board as your base
- A variety of paints (acrylics work well)
- Brushes, sponges, or palette knives
- Old magazines, fabrics, or papers for collage elements
- Adhesive (mod podge or glue)
- Sealer (optional)
Step-by-Step Guide to Creating Your Patchwork Masterpiece
1. Prepare Your Base
Start by choosing a canvas or wooden board. This will serve as your blank canvas where all your creative instincts will come to life. Set it up in a well-lit area and lay down some protective covering if you’re working indoors.
2. Design Your Layout
Before diving into the painting, sketch a rough outline of your design. Think about how you want to arrange your patchwork pieces. This initial layout can be as abstract or as structured as you’d like. Don’t be afraid to play with colors and patterns!
3. Paint the Background
Apply a base color to your canvas. This could be a solid color or a gradient that sets the mood for your artwork. Let this layer dry completely before moving forward.
4. Create Your Patchwork Pieces
While the background dries, start creating your patchwork pieces. Use your old magazines, paper, or fabric to cut out different shapes and colors. Alternatively, paint some patterns directly onto the canvas. The beauty of DIY is that there’s no right or wrong—your creativity comes first!
5. Assemble Your Art
Once you have your background and patchwork pieces ready, it’s time to assemble them. Apply your adhesive onto the back of each patchwork piece and carefully place them on the background. Mix and match until you achieve a harmonious composition. Remember to layer and overlap for added depth and texture.
6. Seal Your Artwork
After everything is attached and you’re satisfied with your creation, consider applying a sealer to protect your artwork. This will enhance the colors and preserve your masterpiece for years to come.
Embrace the Creative Process
As you work through each step of your DIY patchwork painting, embrace the chance to engage with your creative side. There’s a therapeutic quality to using your hands and seeing your vision come to life. Share your process on social media or invite friends over for a crafting session! These creative projects are not just about the final product—they celebrate the joy of creating.
So gather your materials, unleash your imagination, and dive into the world of DIY patchwork painting. Every patchwork piece tells a story, and with each brushstroke, you’re weaving your narrative into the fabric of your home. Happy crafting!