Are you ready to transform your home into a masterpiece of craftsmanship with stunning parquet flooring? Parquet installation is not just a home improvement project; it’s a way to express your creativity and add warmth and elegance to your living space. With a little patience, some basic tools, and a dash of inspiration, you can embark on this rewarding DIY journey.
Before diving in, let’s explore the beauty that parquet flooring brings to your home. The intricate patterns and rich textures can elevate any room, adding a timeless charm that is both classic and contemporary. Imagine being able to say that you handcrafted an exquisite floor that reflects your unique style—you’ll have a conversation starter right at your feet.
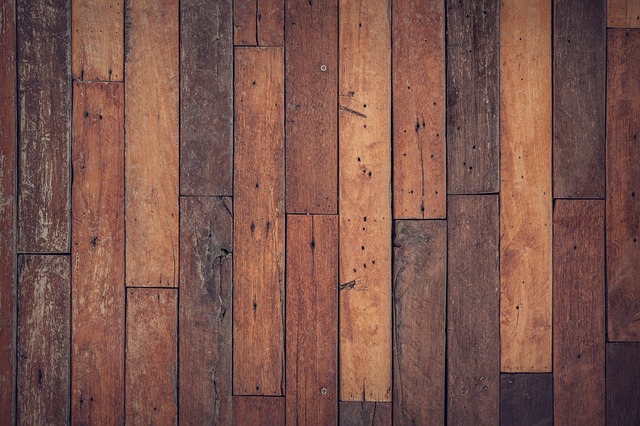
To kick off your parquet installation project, the first step is to gather all the necessary materials. Consider purchasing high-quality wood that suits your aesthetic preferences. The wood species you choose, such as oak, walnut, or maple, can significantly influence the final look. Once you have your materials, make a detailed plan. Sketch out the design you envision, keeping in mind patterns such as herringbone, chevron, or even a traditional basket weave.
Next, prepare your workspace! Create an environment conducive to creativity. Clear the area of furniture and existing flooring. Make sure your subfloor is clean, dry, and level; this is crucial for a successful installation. If you’re unsure of your subfloor’s condition, it’s worth taking the time to assess and repair any issues before laying down your parquet.
As you embark on the actual parquet installation, take your time. Start by measuring and laying out your design, ensuring that every piece fits snugly together. Be patient with the process, as rushing can lead to mistakes. A good tip during installation is to use adhesive designed for wood flooring; this ensures a long-lasting bond and minimizes the chance of warping in the future.
Once your parquet is laid, the finishing touches are crucial. Sand your floor to achieve a smooth surface, then apply a suitable finish, such as a sealant or stain, to enhance the wood’s natural beauty while offering protection against wear and tear. You’ll be amazed at how a little bit of effort can transform your home into a stylish retreat.
Remember that parquet installation is not merely a task, but a beautiful DIY project that showcases your hard work and creativity. It may take some time and effort, but the joy of walking on your handcrafted floors, knowing that you built them with your own hands, is truly unparalleled. So gather your tools, unleash your inner craftsman, and let the journey of creating your dream floors begin!