The Ultimate Guide to DIY Face Painting: Unleashing Your Creative Projects with Handcraft
Face painting is not just an art; it’s a celebration of creativity and imagination! Whether you’re preparing for a festival, a birthday party, or simply looking to express yourself, DIY face painting can transform ordinary moments into extraordinary experiences. In this guide, we’ll explore how to harness the power of handcraft and unleash your inner artist through creative projects that center around face painting.
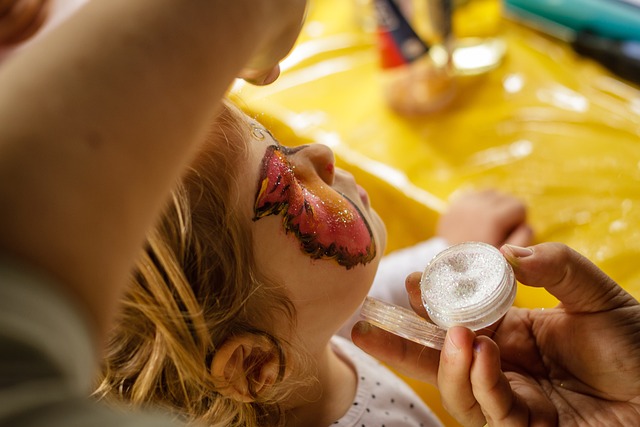
The Joy of DIY Face Painting
DIY face painting encourages self-expression and creativity. It allows individuals of all ages to step out of their comfort zones and showcase their artistic flair. With just a few supplies and some inspiration, you can create stunning designs that will leave everyone amazed. It’s more than just painting; it’s about bringing characters to life and telling stories through art.
Getting Started: Essential Supplies
Before diving into your DIY face painting adventure, it’s essential to gather your supplies. Here’s a basic list to help you get started:
- Face paints: Choose high-quality, skin-safe paints available in a variety of colors.
- Brushes and sponges: A mix of small brushes and makeup sponges will help you apply different techniques.
- Stencils (optional): For those who prefer a guided approach, stencils can make the process easier.
- Palm wipes and water: Keeping your workspace clean is key! Have water for rinsing brushes and wipes for easy cleanup.
- Setting spray: To ensure your designs last as long as possible, a good finishing spray is a must.
Choosing Your Design
The possibilities are endless when it comes to selecting a design for your face painting project. You can opt for simple patterns, whimsical creatures, or even elaborate characters from movies and books. Consider themes that resonate with you or the occasion you’re celebrating. Pinterest and social media are great platforms for gathering inspiration, showcasing thousands of creative projects from artists around the world.
Techniques to Master
Once you’ve decided on your design, it’s time to get painting! Here are a few techniques to keep in mind:
- Base Layer: Start with a solid base of color to create your canvas. Use a sponge for even coverage.
- Layering: Build depth and detail by layering colors and using various brush sizes to create fine lines and shapes.
- Blending: For softer transitions between colors, practice blending techniques with brushes or sponges.
- Details: Use a small brush to add intricate details, such as dots, stars, or outlines that will make your design pop.
Involve Friends and Family
One of the most rewarding aspects of DIY face painting is that it’s a communal activity. Invite friends or family members to join you in this creative endeavor. Organize a face painting night where everyone can express their individuality and creativity. Sharing tips and techniques can lead to new ideas and elevate your skills as a group!
Aftercare and Removal
Once the festivities are over, it’s important to remove face paint safely and effectively. Use a gentle makeup remover or a mix of water and baby oil to dissolve the paint without irritating the skin. Always follow up with a gentle cleanser to ensure your skin is clean and free of residues.
Face painting opens a world of possibilities, enabling you to explore artistic expression while creating cherished memories with loved ones. Embrace your creativity and dive into DIY face painting today!