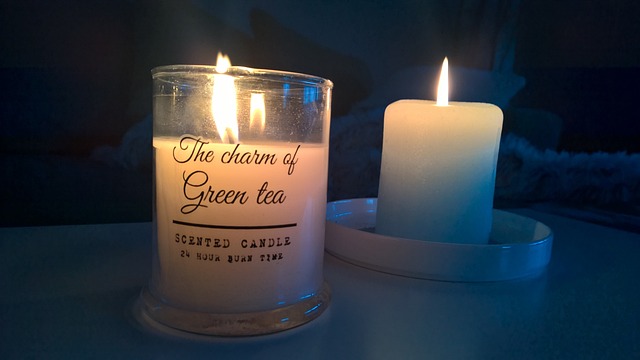
Discover the Art of DIY Scented Candle Making
Nothing adds warmth and ambiance to a space quite like a beautifully crafted scented candle. The flickering flame, combined with the comforting aroma, creates an inviting atmosphere that can transform any room. If you’re ready to unleash your creativity, diving into scented candle making is a wonderful DIY project that combines artistry with a cozy sensory experience.
The Joy of Handcrafting
Handcrafting your own scented candles offers a unique satisfaction that store-bought options simply cannot match. The process allows you to experiment with different fragrances, colors, and shapes, customizing each candle to reflect your personal style and preferences. Plus, there’s something magical about creating something by hand — it forges a deeper connection to the objects that fill your home.
Gather Your Supplies
Before you start your scented candle making adventure, it’s essential to gather the right supplies. Here’s a simple list to get you started:
- Candle Wax: You can choose from paraffin, soy, or beeswax based on your preference.
- Fragrance Oils: Select scents that resonate with you — from floral to fruity or earthy tones.
- Candle Wicks: Look for wicks suited to the size of your candle.
- Molds or Containers: Use glass jars, tin cans, or silicone molds.
- Double Boiler: This is used for melting the wax safely.
- Thermometer: To monitor the wax temperature.
- Color Dyes: Optional, for adding a pop of color to your candles.
Your Creative Process
Once you have your supplies ready, it’s time to embark on the creative process. Here’s a step-by-step guide to help you craft your own aromatic creations:
- Measure Your Wax: Determine how much wax you’ll need based on the size of your container.
- Heat the Wax: Use the double boiler method to melt the wax gently. Monitor the temperature with your thermometer; you want it to reach around 185°F.
- Add Color and Fragrance: Once melted, stir in your color dye and fragrance oil, mixing well to ensure an even distribution.
- Prepare Your Wicks: Secure the wick to the bottom of your mold or container using a bit of melted wax or wick adhesive.
- Pour the Wax: Carefully pour the wax mixture into your container, leaving a small space at the top.
- Secure the Wick: Use a wick holder or pencil to keep the wick centered while the candle sets.
- Cool and Cure: Allow the candle to cool completely before trimming the wick to about 1/4 inch.
Embrace the Art of Personalization
The beauty of DIY scented candle making lies in the ability to personalize each candle for different moods and occasions. Whether it’s a calming lavender candle for your relaxation space or a zesty citrus one for a festive gathering, the options are endless. You can even experiment by making layered candles with multiple colors and scents, creating a stunning visual and aromatic experience.
Gift Your Creations
Handcrafting scented candles also makes for thoughtful gifts. You can package them beautifully in handmade boxes or with personalized labels, making them perfect for birthdays, holidays, or as housewarming presents. The recipient will appreciate the time and effort you put into creating something unique, infused with love and fragrance.
Engaging in scented candle making not only sparks creativity but also allows you to fill your home with the delightful aromas of your choice. As you embark on this crafting journey, you’ll find that each candle tells a story, weaving together elements of art, fragrance, and personal touch — truly the essence of handiwork. Happy crafting!
